Welcome to your new home sewing machine! This comprehensive manual guides you through understanding, setting up, and maintaining your machine for optimal performance. Discover tips for mastering essential functions, troubleshooting common issues, and exploring advanced features to enhance your sewing experience.
Importance of Reading the Manual
Reading the manual is crucial for understanding your sewing machine’s features, ensuring safe operation, and troubleshooting common issues. It provides step-by-step guides for setup, maintenance, and customization. By following the manual, you can prevent errors, extend the machine’s lifespan, and optimize its performance. It’s your key to mastering sewing techniques and achieving professional results effortlessly.
Understanding the Sewing Machine Parts
Familiarizing yourself with the sewing machine’s components, such as the spool pins, bobbin case, presser foot, and stitch selectors, ensures proper operation and maintenance. This knowledge helps you identify and address issues quickly, enhancing your sewing experience and project outcomes.
External Components of the Sewing Machine
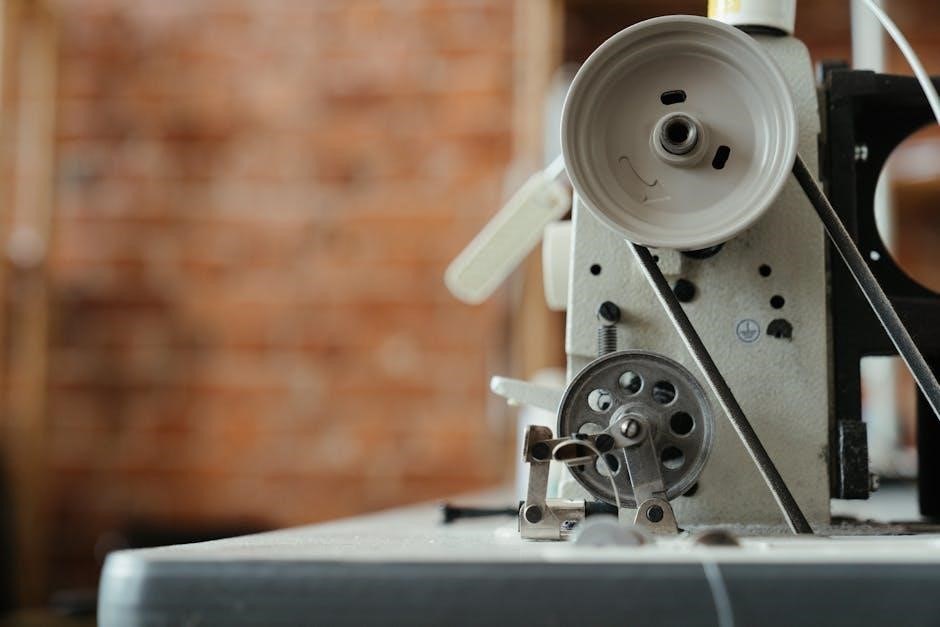
The external parts include the spool pins for holding thread, stitch selectors for choosing patterns, presser foot for fabric control, and handwheel for manual operation. These components are essential for setting up and operating the machine effectively, ensuring smooth fabric movement and precise stitching. Understanding their functions enhances your sewing efficiency and overall experience.
Internal Parts and Their Functions
The internal parts include the motor, which powers the machine, gears for transmitting power, the shuttle hook forming stitches, and tension discs regulating thread tension. These components ensure smooth operation and precise stitch formation. Regular maintenance of these parts is essential for optimal performance and longevity.
Glossary of Sewing Machine Terms
This section defines key terms like stitch (a single loop of thread), tension (thread tightness), and bobbin (holds lower thread). It explains presser foot (holds fabric in place) and backstitch (reinforces seams). Understanding these terms helps users operate the machine effectively and troubleshoot common issues. Clear definitions ensure confident sewing and proper machine care.
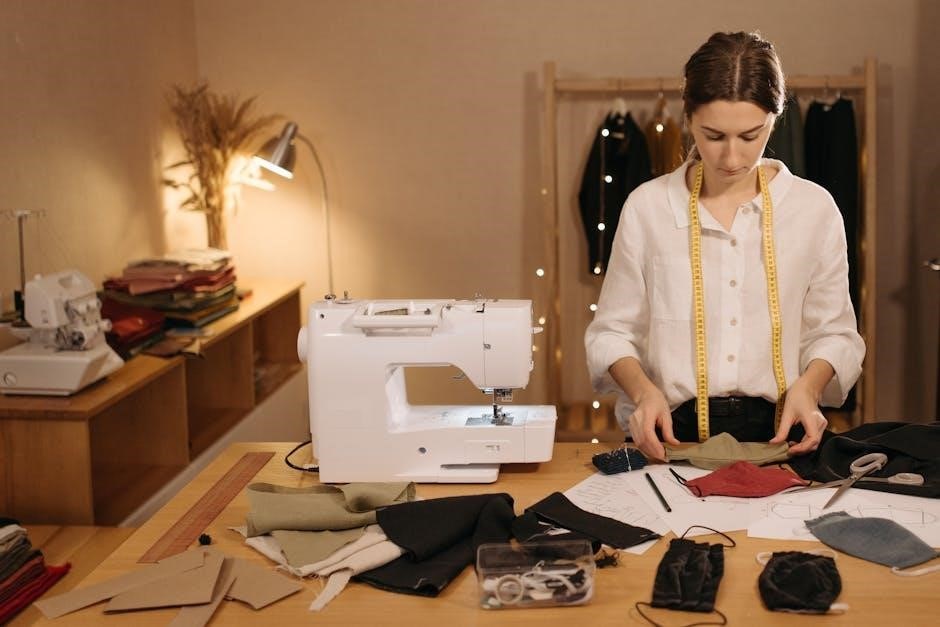
Setting Up Your Sewing Machine
Unpack, inspect, and place the machine on a stable surface. Plug it in safely, ensuring proper power supply. Prepare for first use by checking all components and accessories.
Unpacking and Initial Inspection
Carefully unpack the sewing machine, ensuring all components are included and undamaged. Inspect the machine for any visible wear or defects. Locate and familiarize yourself with the power cord, foot pedal, and accessories. Check for any loose parts or packaging materials that may remain inside. Refer to the manual to identify and verify all included items before proceeding.
Pre-Use Checklist
Before using your sewing machine, ensure the power cord is securely plugged in and the machine is placed on a stable, flat surface. Check that the bobbin is properly inserted and the needle is securely attached. Verify that all parts are tightened and free from debris. Ensure the machine is set to the correct voltage and review the stitch settings before starting your project.
Basic Tools and Accessories Needed
To get started, you’ll need bobbins, sewing needles (various sizes), and threads suited for your fabric. Essential tools include scissors, a seam ripper, measuring tape, and a ruler. A sewing kit with pins, a needle threader, and fabric markers is also recommended. An ironing board and press cloth are useful for finishing seams professionally.
Threading and Bobbin Management
Proper threading and bobbin setup are crucial for smooth sewing. Always follow the manual’s guidelines to ensure correct thread flow and tension for optimal performance.
Step-by-Step Guide to Threading the Machine
Start by turning off the machine and cutting any old thread. Place the spool on the spool pin, then guide the thread through the tension discs and take-up lever. Pass it through the channel, loop it around the stitch regulator, and insert it into the needle. Gently pull the thread to ensure it’s seated properly. Test by sewing on scrap fabric.
How to Wind and Insert the Bobbin
Place the bobbin on the winder and guide the thread through the tension disc. Wind slowly, filling the bobbin evenly. Cut the thread, leaving a short tail. Insert the bobbin into the bobbin case, ensuring it sits securely. Pull the thread gently to engage the tension. Close the case and test by sewing a few stitches to ensure proper tension. Always use the correct bobbin type for your machine.
Troubleshooting Common Threading Issues
If the thread doesn’t catch, ensure the machine is threaded correctly. Turn off the machine, trim excess thread, and rethread slowly. Check for tangles or knots. If thread bunches, raise the presser foot and rethread. Use the correct thread type and tension settings. Clean the machine regularly to prevent debris buildup. Consult the manual for specific threading guides.
Stitch Selection and Customization
Select stitches based on fabric type and project needs. Adjust stitch length and width for desired results. Customize settings using the control panel or manual guidance.
Types of Stitches and Their Uses
The sewing machine offers various stitch types, including straight, zigzag, and decorative options. Straight stitches are ideal for basic sewing, while zigzag stitches are perfect for stretchy fabrics. Decorative stitches add embellishments, and specialty stitches cater to specific fabrics like denim or leather. Each stitch type serves a unique purpose, ensuring versatility for diverse projects.
How to Select and Customize Stitch Length and Width
To customize stitches, use the stitch length dial to adjust the distance between stitches, while the width dial controls the stitch’s side-to-side measurement. Longer stitches are ideal for heavy fabrics, while shorter ones suit delicate materials. Narrow widths are perfect for straight lines, and wider settings enhance decorative patterns. Adjustments ensure optimal results for various sewing tasks.
Troubleshooting Stitch-Related Problems
For uneven stitches, check the needle for dullness or improper installation. Skipped stitches may indicate a loose needle or incorrect thread tension. Tight or loose stitches can result from misaligned fabric or improper presser foot pressure. Adjusting stitch length and width settings according to fabric type often resolves these issues. Always refer to the machine’s guidelines for specific corrections.
Maintenance and Care
Regularly clean the machine to remove dust and debris. Lubricate moving parts with sewing machine oil. Store in a dry place, using a protective cover. Professional servicing is recommended annually for optimal performance and longevity of your sewing machine.
Cleaning the Sewing Machine
Turn off and unplug the machine. Remove the needle, presser foot, and bobbin. Use a small brush or vacuum to remove lint and dust. Dampen a soft cloth with distilled water, gently wiping surfaces. Avoid harsh chemicals or liquids. Regular cleaning prevents dust buildup, ensuring smooth operation and extending machine life. Clean after each project for optimal performance.
Oiling and Lubricating the Machine
Turn off and unplug the machine. Locate oiling points as indicated in your manual. Use high-quality sewing machine oil, applying a few drops to moving parts. Avoid over-oiling to prevent residue buildup. Regular lubrication ensures smooth operation, reduces friction, and prevents wear. Oil after cleaning or every 50 hours of use for optimal performance and longevity.
Proper Storage and Transportation
Store the machine in a hard cover or protective case to prevent dust and scratches. Keep it in a dry, cool place away from direct sunlight. When transporting, ensure the machine is secure and upright to avoid damage. Always detach the needle and store small parts separately. Handle with care to maintain balance and prevent mechanical stress.
Troubleshooting Common Issues
Troubleshooting common issues with your new home sewing machine involves identifying malfunctions like uneven stitching or machine shutdowns. Check power supply, thread tension, andbobbin alignment. Clean lint buildup regularly and ensure proper needle installation. Refer to the manual for error code explanations and reset procedures if necessary. Contact customer support for persistent problems.
Identifying and Resolving Machine Malfunctions
To identify malfunctions, look for unusual noises, uneven stitching, or jammed threads. Check for loose parts, improper threading, or tangled bobbins. For resolution, turn off the machine, unplug it, and carefully remove any blockages. Refer to the troubleshooting guide in the manual for specific solutions. Regular maintenance and proper usage can prevent most issues.
- Always switch off the machine before attempting repairs.
- Consult the error code list if the machine displays alerts.
- Keep the sewing area clean to avoid debris-related problems.
Remember: If issues persist, contact customer support or visit an authorized service center.
Understanding Error Codes and Alerts
Error codes on your sewing machine indicate specific issues. Refer to the manual for code meanings, as they vary by model. Common alerts include E1 for threading errors or E2 for bobbin problems. Always power off and restart the machine after addressing the issue. Regular maintenance can prevent many errors.
Resetting the Machine to Default Settings
To reset your sewing machine to default settings, locate the small reset button at the back or bottom of the machine. Use a pin to press and hold the button for 5-10 seconds until the machine restarts. This will restore factory settings, ensuring optimal performance and resolving any software glitches. Always refer to your manual for specific instructions.
Safety Guidelines
Always unplug the machine when not in use to prevent accidental start-ups. Keep loose clothing and long hair tied back to avoid entanglement; Ensure the work area is well-lit and free from clutter. Never touch the needle or internal parts with bare hands. Use the provided presser foot lifter to handle hot components. Keep children and pets away while operating the machine. Store sharp objects like needles and scissors safely. Regularly inspect the power cord for damage to prevent electrical hazards. Follow all safety precautions outlined in the manual to ensure safe operation and longevity of your sewing machine.
General Safety Precautions
- Always unplug the machine when not in use or during maintenance.
- Keep children and pets away from the sewing machine while in operation.
- Avoid wearing loose jewelry or clothing that could get caught in moving parts.
- Ensure the work area is well-ventilated and free from flammable materials.
- Never insert fingers or objects into the needle area while the machine is operational.
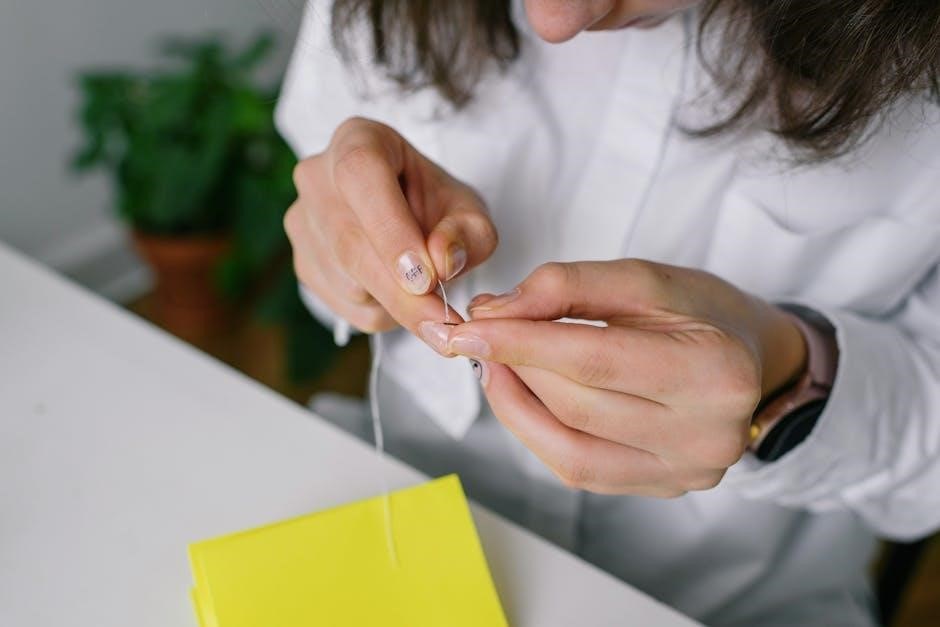
Handling the Sewing Machine Needle Safely
Always handle the needle with care, as it is sharp and can cause injury. Use a needle inserter or tweezers to avoid direct contact with the needle. Store unused needles in a protective case or container. Replace a damaged or bent needle immediately to prevent breakage during use. Keep extra needles out of reach of children and pets.
Emergency Procedures
In case of an accident, turn off the machine immediately and unplug it from the power source. Apply gentle pressure to stop any bleeding if injured. Seek medical attention if necessary. For machine malfunctions, contact customer support or a professional technician. Never attempt to fix the machine while it is still powered on.
To ensure safe operation of your new home sewing machine, always follow these precautions:
- Keep the machine on a stable, flat surface away from water and flammable materials.
- Avoid wearing loose clothing or jewelry that could get caught in moving parts.
- Keep children and pets away while sewing.
- Never touch the needle or hot machine parts.
- Unplug the machine when not in use or during maintenance.
- Use the provided needle inserter tool to handle needles safely.
Regularly inspect the power cord and avoid overloading the machine.
Always handle the sewing machine needle with care to avoid injuries. Use the needle inserter tool to install or remove needles, never touching the sharp edges. Keep fingers away from the needle during operation. Store needles in a protective case when not in use. Avoid touching the needle tip, as it can cause pricks or cuts. If handling multiple needles, ensure they are securely held to prevent accidental contact. Wearing protective gloves can provide extra safety. Regularly inspect needles for damage or dullness, as they may break during use. Replace bent or damaged needles immediately to maintain sewing quality and safety.
In case of an emergency, such as a machine malfunction or injury, stay calm and follow these steps:
- Immediately turn off the machine and unplug it from the power source.
- If a fire occurs, use a fire extinguisher rated for electrical fires and evacuate the area.
- For injuries, apply direct pressure to bleeding wounds and seek medical attention.
- If the machine operates uncontrollably, disconnect the power and contact customer support.
Always prioritize safety and avoid risky actions during emergencies.
Advanced Features and Techniques
Explore advanced sewing techniques like using special presser feet for zippers or hemming, and learn how to perform precise serging or overlocking for professional finishes. Discover tips for quilting and embroidery to enhance your creations with intricate designs and patterns.
Using Special Presser Feet
Special presser feet are designed for specific tasks, enhancing sewing precision and versatility. The zipper foot is ideal for sewing zippers and narrow seams, while the walking foot handles thick fabrics and layers. Blind hem feet are perfect for invisible hems. Attach them by aligning the shank with the machine’s presser foot holder and securing tightly. Always use the correct foot for your project to ensure professional results.
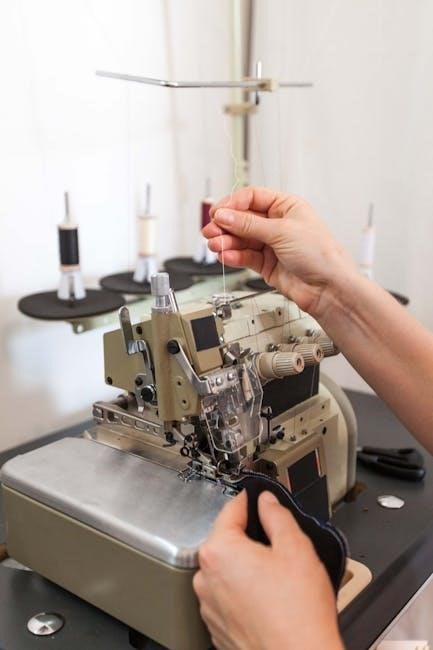
How to Perform Serging and Overlocking
Serging and overlocking are essential techniques for finishing raw fabric edges. Use the overlock stitch to trim excess fabric and encase edges, preventing fraying. For serging, thread the machine with specialized thread and set the stitch length. Guide the fabric steadily, keeping the edge aligned. This creates clean, professional-looking seams. Always backstitch at the start and end for durability.
Quilting and Embroidery Tips
For quilting, use a walking foot to manage thick fabric layers and maintain even stitching. When embroidering, stabilize fabric with a hoop or interfacing to prevent stretching. Adjust tension settings for delicate patterns and use contrasting thread for visibility. Practice on scrap fabric and clean the machine regularly to prevent lint buildup. These tips ensure precise, professional results.
Downloading or Replacing the Manual
Access digital copies of the manual on the official manufacturer’s website or authorized retailers. Replace lost manuals by contacting customer support or visiting local distributors. Print and organize for easy reference.
Where to Find Digital Copies of the Manual
Digital copies of the manual can be found on the manufacturer’s official website, typically under the “Support” or “Downloads” section. Additionally, they may be available through email by contacting customer support. Some brands also provide microsites dedicated to specific models. Always ensure you download from trusted sources to avoid unauthorized versions. Printing or saving the PDF is recommended for easy access.
How to Request a Replacement Manual
To request a replacement manual, visit the manufacturer’s official website and navigate to the support section. Locate the “Manuals and Downloads” page and enter your sewing machine model number. Fill out the replacement request form with your contact details. Attach proof of purchase if required. Allow 7-10 business days for processing and shipping. Digital copies are often available for immediate download while awaiting your physical manual.
Tips for Printing and Organizing the Manual
For easy access, print the manual on high-quality paper and bind it using a three-ring binder. Use section dividers with labels to organize chapters. Include blank pages for notes or modifications. Print in color to enhance diagrams and charts. Store in a protective cover to prevent damage. Consider creating a digital backup for quick reference.
- Use a binder with pockets for loose pages.
- Highlight important sections for quick navigation.
- Keep a copy in a cloud storage service.
Regularly review and update your manual for best results.
Common Mistakes to Avoid
Avoid common mistakes such as not reading the manual, skipping pre-use checks, using incorrect needles, and improper threading. These errors can damage the machine or affect stitch quality, leading to frustrating repairs and wasted fabric. Always follow the manufacturer’s guidelines for best results and longevity of your sewing machine.
Typical Errors New Users Make
New users often make mistakes like incorrect threading, neglecting tension adjustments, or using the wrong needle size. Forgetting to secure the bobbin properly or overloading the machine with thick fabric can cause jams. Ignoring regular maintenance, such as oiling, can lead to mechanical issues. Always follow guidelines to avoid these common pitfalls and ensure smooth sewing experiences.
How to Avoid Damaging the Machine
To prevent damage, always unplug the machine before cleaning or oiling. Avoid using excessive force, as this can strain internal mechanisms. Regularly clean dust and debris from crevices to ensure smooth operation. Use only recommended needles and threads to prevent wear. Never leave the machine exposed to moisture or direct sunlight, as this can cause rust or electrical issues.
- Store the machine in a dry, cool place when not in use.
- Avoid overloading the machine with thick fabrics without proper setup.
- Follow the manufacturer’s guidelines for oiling and lubrication.
By adhering to these tips, you can extend the lifespan and maintain optimal performance of your sewing machine.
Best Practices for Long-Term Use
To ensure your sewing machine lasts, maintain a consistent cleaning schedule, store it in a dry, cool place, and avoid exposure to dust or moisture. Always use the correct presser feet and needles for your projects. Regularly check and replace worn parts, and keep the machine well-lubricated. Avoid extreme temperature changes and never overload the machine;
Customer Support and Resources
Contact manufacturer support via phone, email, or live chat for troubleshooting and repairs.
Join online forums and communities for shared knowledge and peer-to-peer problem-solving.
Visit authorized repair shops for professional maintenance and genuine parts replacement.
Contacting Manufacturer Support
For assistance, contact the manufacturer’s support team via phone, email, or their official website. Have your machine’s model number and purchase details ready. Support hours vary, so check the manual. Live Chat is also available on their website. Visit the FAQ section first for common solutions. The team is ready to address your concerns and ensure optimal performance of your sewing machine.
Online Communities and Forums
Online communities and forums are invaluable resources for sewing enthusiasts. Join platforms like Facebook groups, Reddit forums, or specialized sewing communities to connect with other users, share tips, and troubleshoot issues. These spaces often feature tutorials, project ideas, and advice from experienced sewists. Engage actively, ask questions, and learn from collective expertise to enhance your sewing skills and resolve machine-related queries effectively.
Recommended Repair Shops and Services
For professional maintenance or repairs, contact authorized dealers or certified service centers. These experts use genuine parts and ensure warranty compliance. Check the manufacturer’s website for a list of approved providers. Additionally, online forums and sewing communities often recommend trusted local technicians. Always verify certifications and read reviews before selecting a repair service. This ensures quality and reliability for your machine.
Mastering your new home sewing machine requires practice and patience. Always refer to this manual for guidance, and explore online resources for additional tips. Regular maintenance ensures optimal performance, while troubleshooting common issues helps extend the machine’s lifespan. Join sewing communities for inspiration and support. Happy sewing!
This manual provides essential guidance for mastering your new home sewing machine. Always read the manual thoroughly to understand machine parts, setup, and maintenance. Proper threading, bobbin management, and stitch selection are vital for optimal performance. Regular cleaning and lubrication ensure longevity. Follow safety guidelines, troubleshoot common issues, and explore advanced features to enhance your sewing experience. Continuous learning and best practices will help you achieve professional results.
Encouragement for Continuous Learning
Embrace sewing as a lifelong learning journey! Continuously explore new techniques and projects to enhance your skills. Start with simple tasks and gradually tackle more complex creations. Online tutorials, sewing communities, and workshops are invaluable resources. Practice regularly, as each stitch brings improvement. Experiment with different fabrics and patterns to broaden your expertise. Sewing is a skill that grows with dedication and curiosity—enjoy the creative process and celebrate every accomplishment!